93
you are viewing a single comment's thread
view the rest of the comments
view the rest of the comments
this post was submitted on 05 Nov 2023
93 points (100.0% liked)
Mechanical Keyboards
10503 readers
35 users here now
Are you addicted to the clicking sounds of your beautiful and impressive mechanical keyboard?
If so, this community is for you!
Here you can discuss everything about mechanical keyboards (and only mechanical keyboards).
Banner by Jay Zhang on Unsplash
founded 5 years ago

That's really cool. Got any pictures of the inside wiring?
Also can I ask how much the laser cut plate cost? I was thinking of doing this but then found pretty cheap pre-made plates.
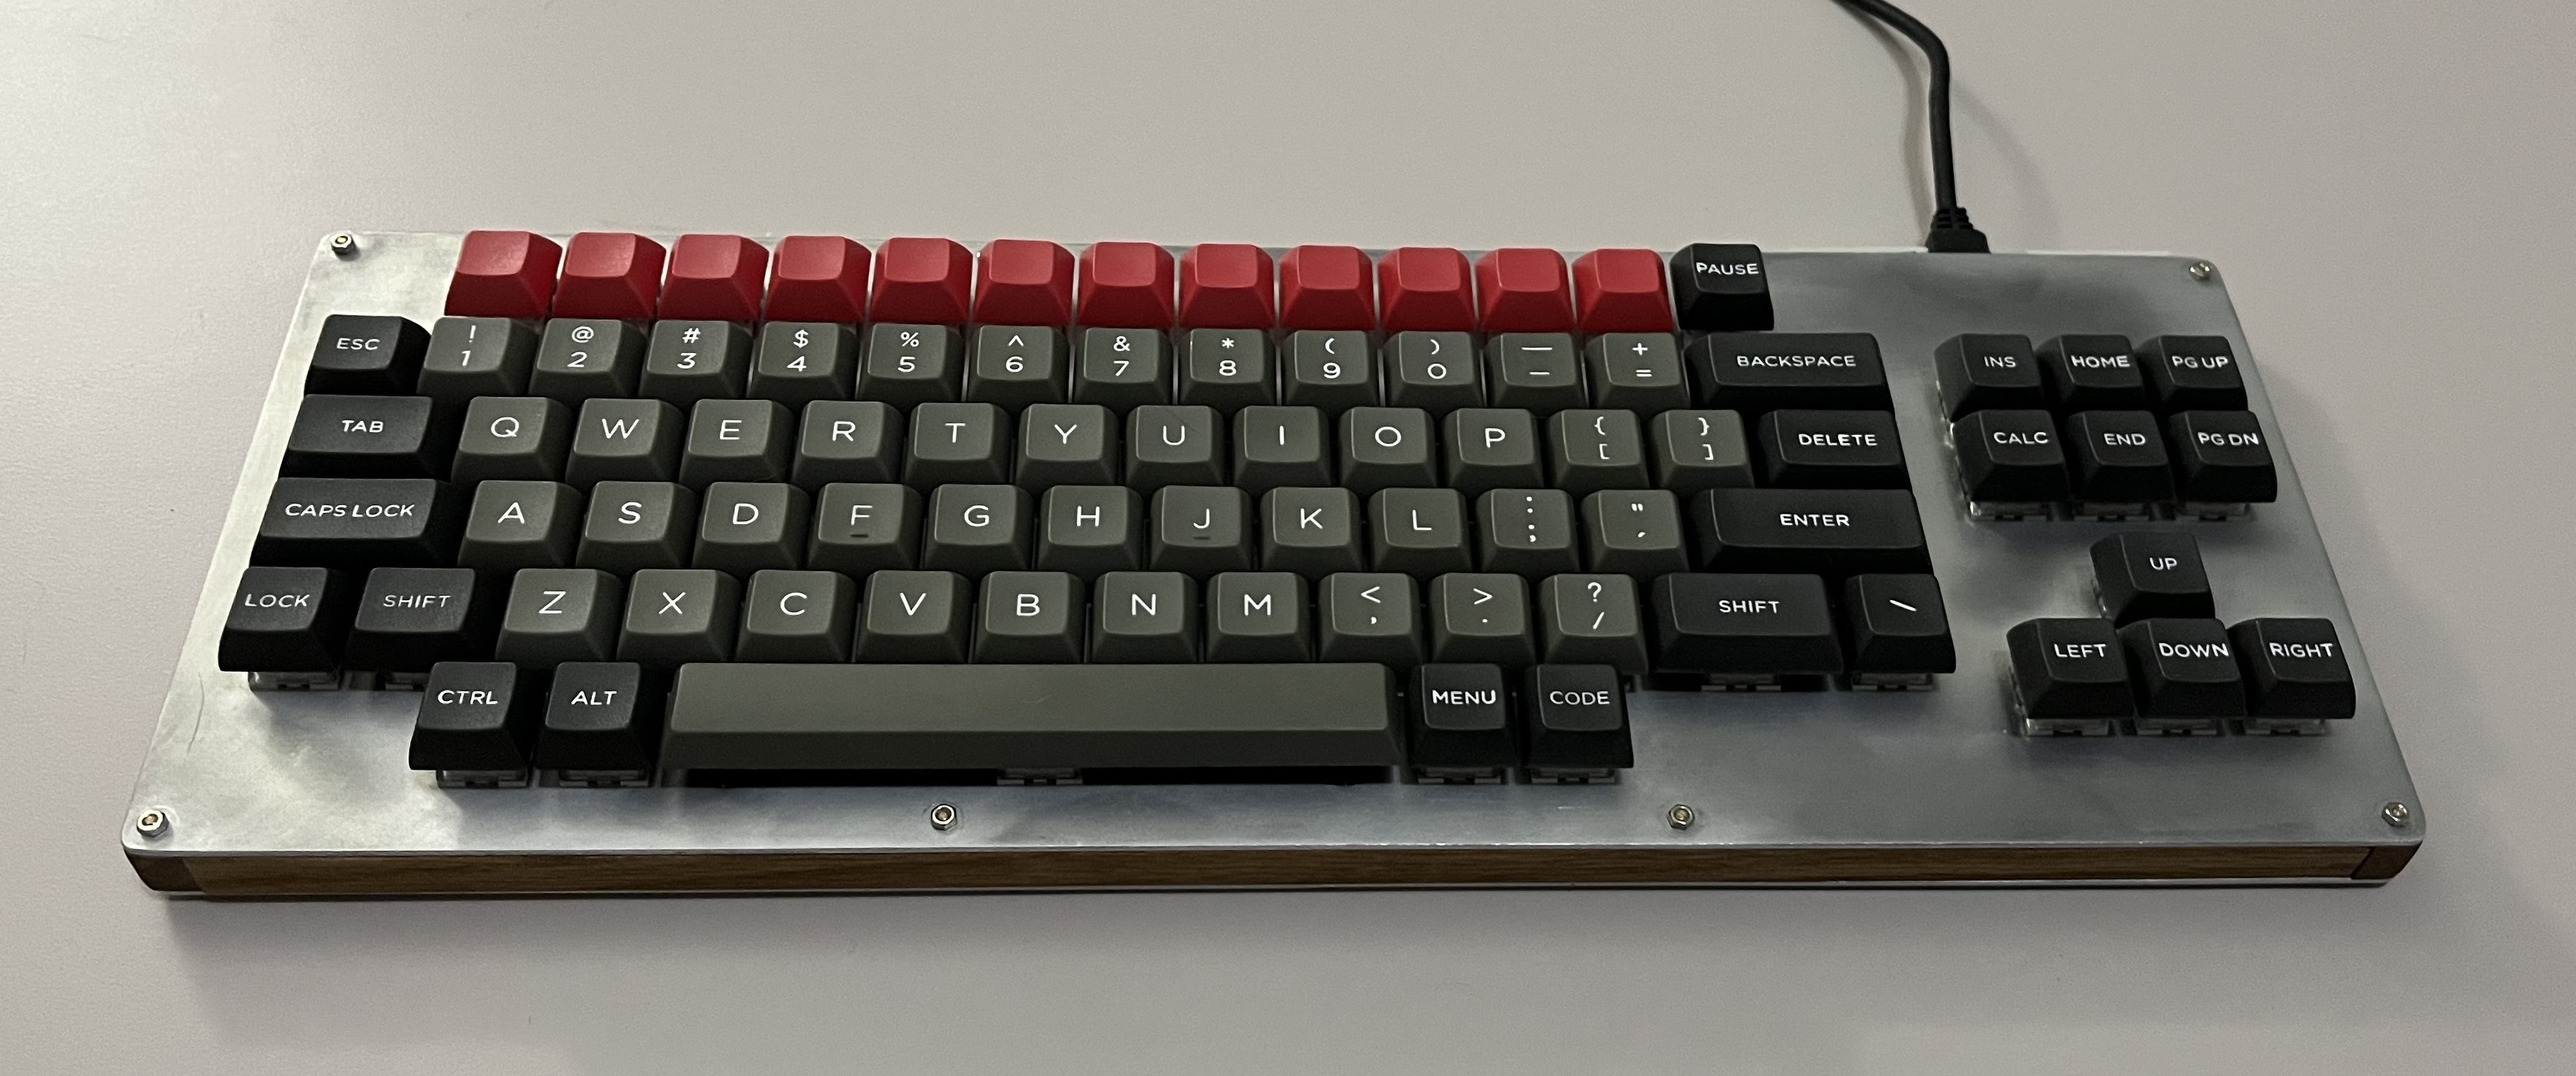
There are a few in-progress pics on Geekhack, but here is the final wiring. The RP2040-Zero has 20 castellated GPIO pins, and I ended up with a weird looking but doable 12x7 matrix. Next time I crack this one open, I think I will solder in a second LED to the last open pin and tie it to Capslock. I do find I miss that one a bit.
The plates were from Xometry. I got 3 switch plates and 3 bottom plates made of 1/16" (1.6mm) 5052 aluminum. The only finish option I chose was deburring. Total was US $67, and with the options I chose (and more to the point, the options I declined), I think this is probably about as cheap as it gets; the setup is a huge part of the cost, so I think 1 of each plate was going to be like $44. This first build, I just went right to town putting switches in and starting with the wiring. I justified my impatience by telling myself I want to see how it ages, but mostly I wanted to dive in. For the other two, I think I'll sand and put a clearcoat on before beginning the wiring, and I will refine the case sides one way or another, maybe lasercut plywood, maybe 3D printed, or maybe just spending more time on the woodworking.
Awesome. Thanks.