105
Tried to make filler from sawdust + glue but it's very dark, what went wrong?
(media.piefed.social)
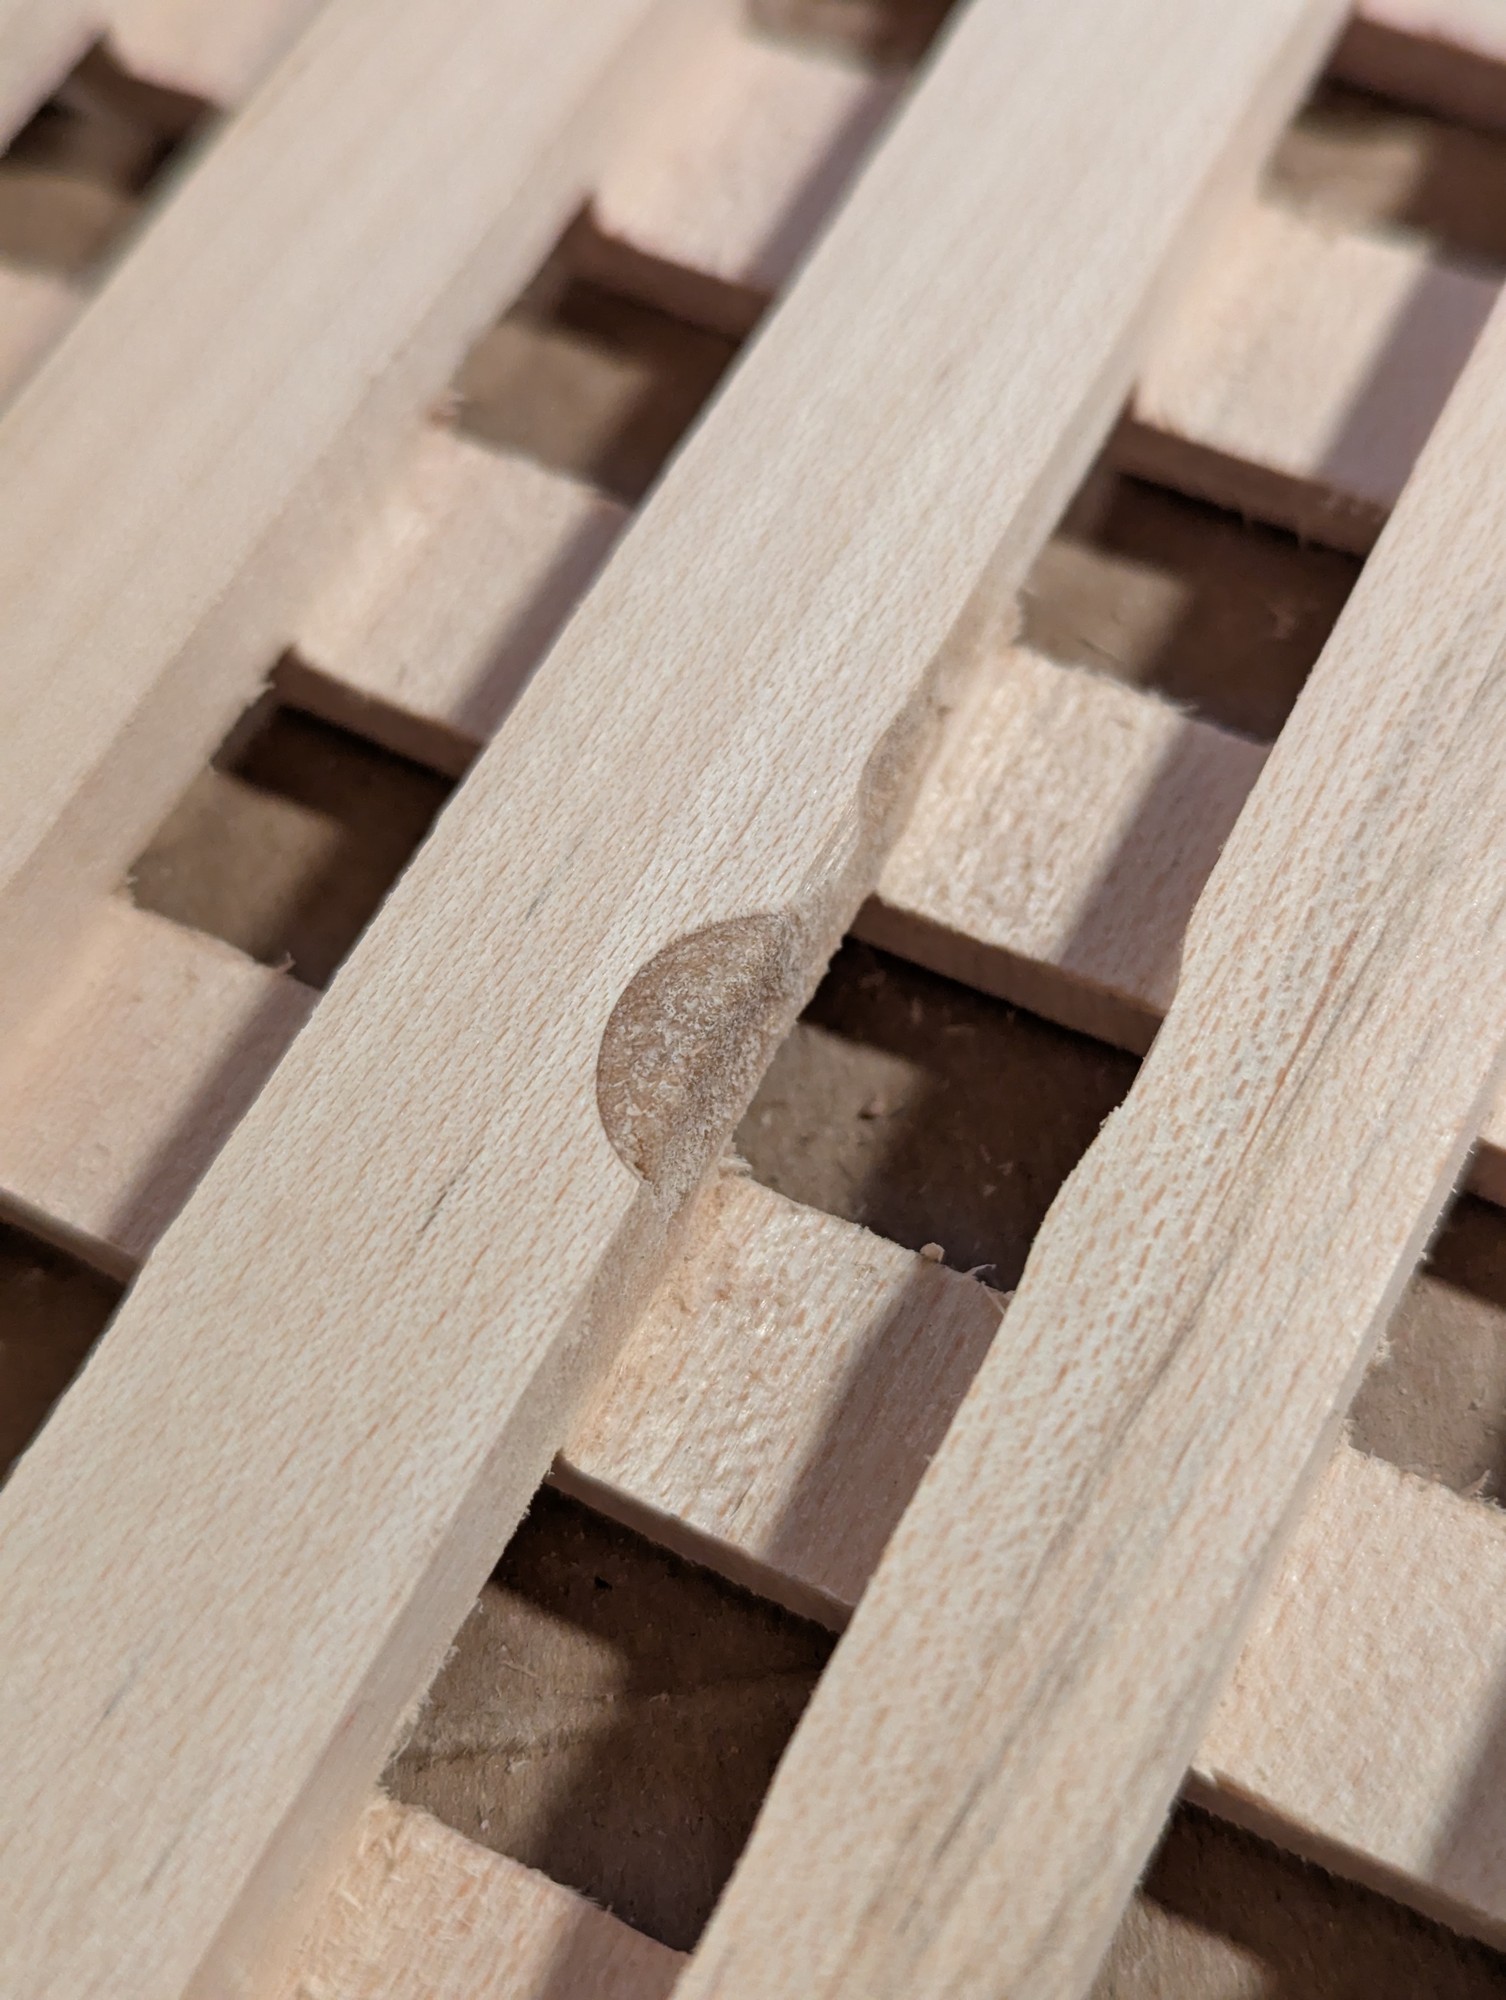
I've heard people say you can mix sawdust from your workpiece with wood glue to make an invisible patch, but I've tried it twice (once in oak, once as pictured on ash) and both times it came out significantly darker and the surrounding wood. The glue is Tite Bond 3.
Does a different glue work better? How wet should the sawdust paste be? This is on the back so it doesn't matter a lot, but I'd like to have a good process for filling little mistakes.